FROGGING MY WAY - Shahid Ebrahim
- 25 Apr, 2011
- Home , Fishing Techniques
- 0 Comments

Frogging My Way
TACKLE
To become more prolific at landing bass on a frog will require some specific tackle to adequately deal with the terrain and size of fish you will be targeting.
THE ROD
The first thing you will need to look at is a technique specific frogging rod, and there are a number of decent frogging rods on the market today. Now I am not saying that you will not be able to catch fish on a frog with a general purpose rod, but having the right tools for the job will make you more successful. My recommendation is to firstly get a rod which is at least 7' or longer. I personally prefer a 7'3". The reason for this is 2 fold. Firstly the longer rod will enable you to make the longer casts which are often required when frog fishing, and secondly, but more importantly, the longer rod will give you the required leverage to set the hook at a distance and immediately put pressure on the fish to get it coming towards the boat, as you will generally be fishing a frog in thick cover.
The second thing to consider when choosing a rod for frogging is the rating. Again, due to the type of cover generally associated with frogging, you would need to get a rod which has sufficient back bone to haul those piggies out of the grass. My recommendation is to get a "medium heavy" or "heavy" rating rod, depending on what feels comfortable in your hand. I prefer a rod with a 70/30 split. What this means is 70% back bone with 30% tip action so only the top 30% of the rod flexes. The reason I prefer a rod with a bit of tip action is 3 fold.
Firstly the tip action will allow you to cast your bait more accurately, secondly allow you to impart the correct action on your lure and finally it will allow for a bit of give when the fish takes the frog. Another important thing to consider is the action. If you pick a fast action rod, you may find that you miss a lot of strikes, therefore I prefer and medium action rod as it loads up slower than a fast action rod, which is important when striking. The ideal is obviously to pause for a split second and feel the weight of the fish before striking. I can assure you though that when a big fish explodes on your frog, the excitement is so intense that you will rarely remember that you need to pause for a second before striking. So every bit of help you can get from your tackle to give the fish sufficient chance to inhale the bait before striking is a bonus.
Lastly the rod must be as light as possible, as fishing with a heavy rod will tire you out quickly and you will end up with sore wrists within the first hour. So buy the best that you can afford.
THE REEL
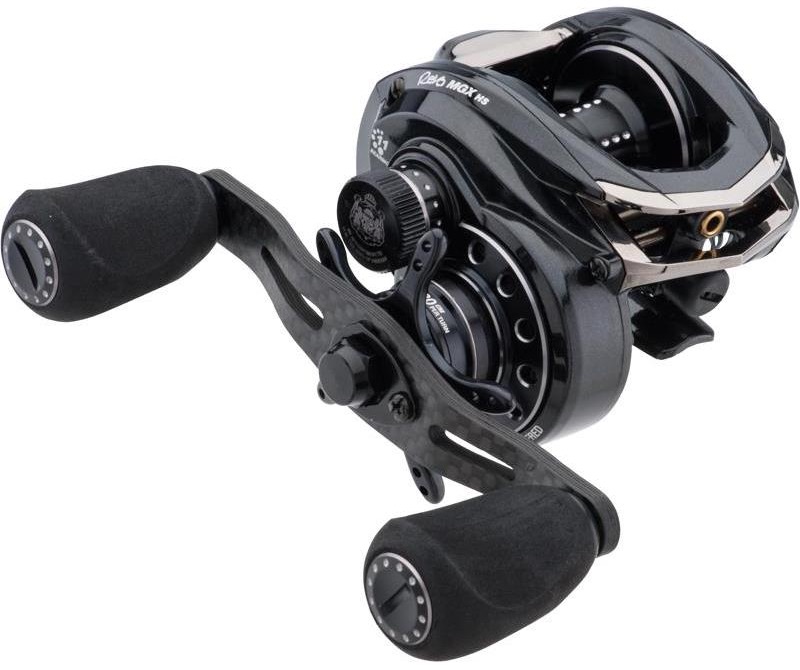
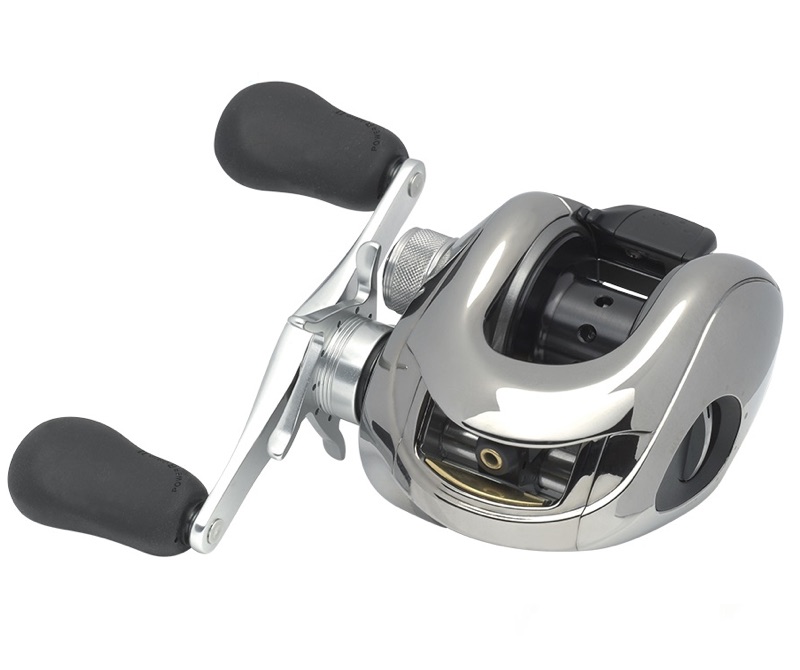
The next important thing to consider is the Reel. Here I will keep it simple. Basically you want a high speed reel with a decent drag and good torque, which unfortunately is a contradiction in most models. The reason I say this is because generally the higher the speed of the reel the less torque or pulling power it possesses. That's why good cranking reels are usually the slowest ratio reels around. The reason I prefer a high speed reel is to be able to quickly turn the fish and get it out of the cover before it has a chance to bury itself, otherwise the chances of you landing the fish become significantly less.
Ideally you want something along the lines of a 6.3 ratio reel and upwards. I personally prefer the Abu Garcia Revo STX in a 7.1 ratio and is one of the few reels I have used to date that has enough power to pull a big fish from cover whilst still maintaining a high retrieve ratio. A good way to test a reels drag and torque capabilities is to tighten the drag to about 70%, then strip line from it whilst the drag is engaged. If the reel lets out line immediately and smoothly without stuttering or locking up, then chances are that it has a decent drag system. You definitely don’t want a reel which locks up or stutters as this could cause you to snap your line or even your rod if fishing with braided line.
 |
 |
THE LINE
Lastly, line choice. All the best frog anglers I know fish frogs with braided line and with good reason. The first being its incredible strength per diameter and ability to cut through vegetation. The second reason I prefer braid is because the majority of frogging I do is on the surface and whilst you do get braids which sink, the majority of braids float and therefore allow the baits to ride high up on the surface, this allows the floating frogs to impart the correct action. However fishing with braid, especially with a bait-caster can be very tricky and with the price of braids these days getting overwinds is enough to put one off braids completely. So here are the important thing to consider:
PROFILE
The first thing to avoid when buying braid for a bait-caster is the braids which are like dental floss or have a wax coating. These are fine for spinning reels but a definite no-no for bait-casters as they will most certainly dig in and cause you overwinds or lock up when casting. What you need is a braid with a rounded profile and not the flat or ribbon type.
The second thing is to ensure you get a braid which is rated at 50lbs or higher. Yes I know 50lbs seems excessive and some guys even fish 65lbs or more. But again there is good reason for this and the first is the diameter. Braided lines are usually very thin for their strength, using a smaller diameter braid than 50lb will also cause the line to dig into your reel when retrieving under pressure causing overwinds. I find the 50lbs rating gives me the right balance and has a decent enough diameter to still get distance when casting but not too thin that it digs into itself when retrieving under pressure, or too thick that I can’t get distance. The round profile also assists further in avoiding the line to dig into itself and peels off smoothly during casting.
 |
The last tip I can give you for braided line is that when you are spooling your reel, retrieve the line onto the reel with the maximum tension that you can apply, this will further assist in eliminating the line from digging into itself and causing overwinds or getting stuck when casting. As for colour I prefer the dark greens as they mimic the vegetation and is less likely to spook the fish.
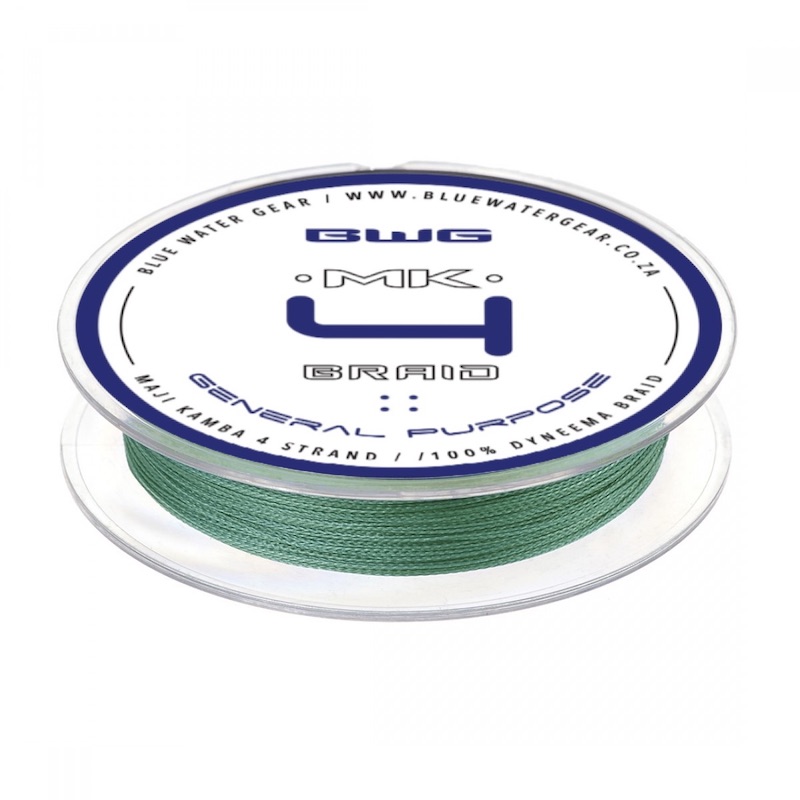
Again, these are merely guidelines and things that work for me. At the end of the day the most important thing is to fish with what you are most comfortable with and with what gives you the most confidence. My preference is 50lb Army Green Maji Kamba from BWG.
THE BAITS
Now for the business end. Due to the fact that I am writing this article mostly for the novice angler I will concentrate on the 2 major or should I say most common types of frogs used today and the most popular brands.
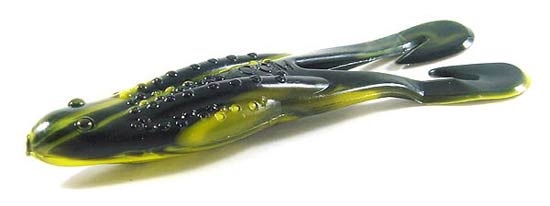
The first type is the Horny Toad. This is a soft plastic frog which is rigged similar to that of a normal plastic worm using a special frog hook which is normally a 5/0 hook with a small spring attached to the eye.
 |
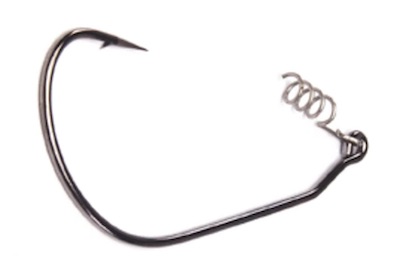 |
The nose of the frog is screwed onto the spring and the hook is then threaded through the frog just before the split between the legs, it is then skin hooked just like a normal worm to make it weedless. Generally these baits do not float when cast out or left still, although there are makes available which offer a floating version. These frogs are generally designed to be cast out and retrieved at a constant speed to keep it buzzing across the surface, but they are very versatile and can be retrieved in a number of different ways. They come in a number of different colors and I’m sure they will all catch bass at some point. The key here is again to be comfortable and confident with the color you have chosen. I personally just stick to 3 or 4 basic colours to cover the various water conditions, and it goes like this:
Watermelon Red = Clear water and bright conditions
Green Pumpkin = Stained and clear water
Junebug = Dirty water or overcast conditions
Black = muddy/Dirty water and during low light conditions (Particularly effective at night times)
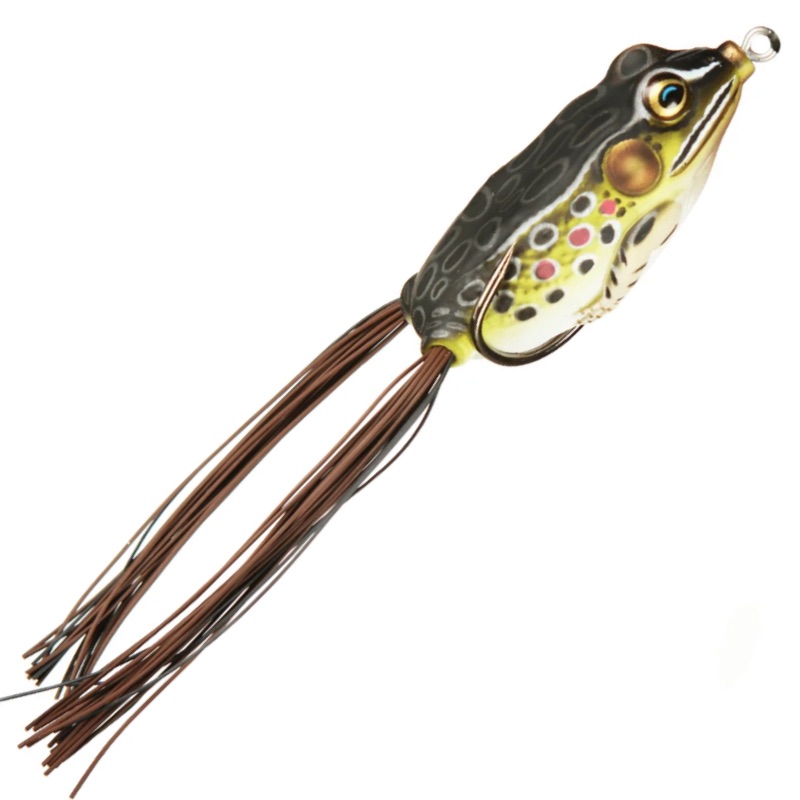
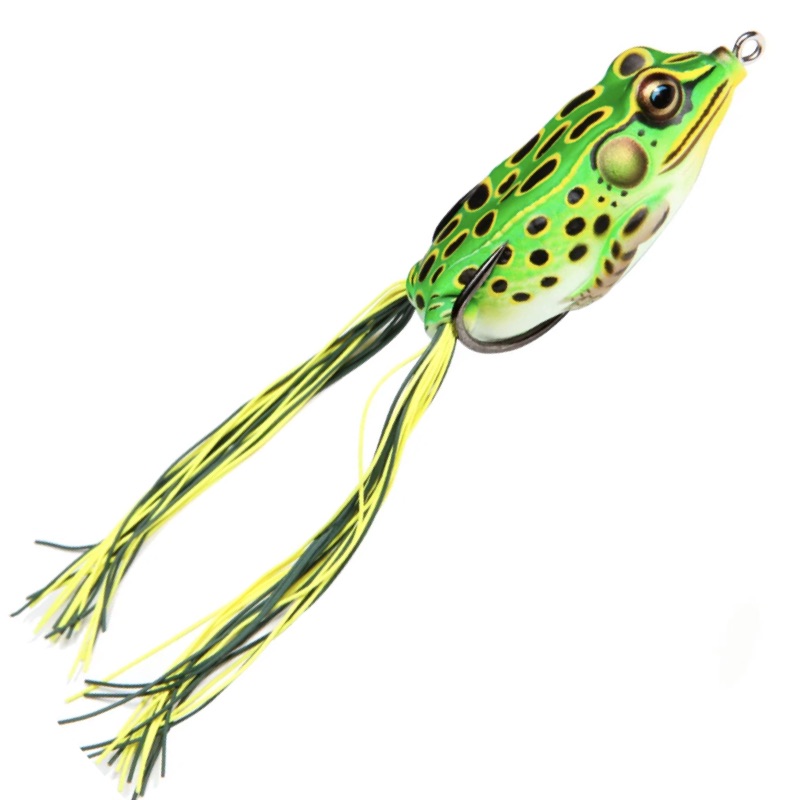
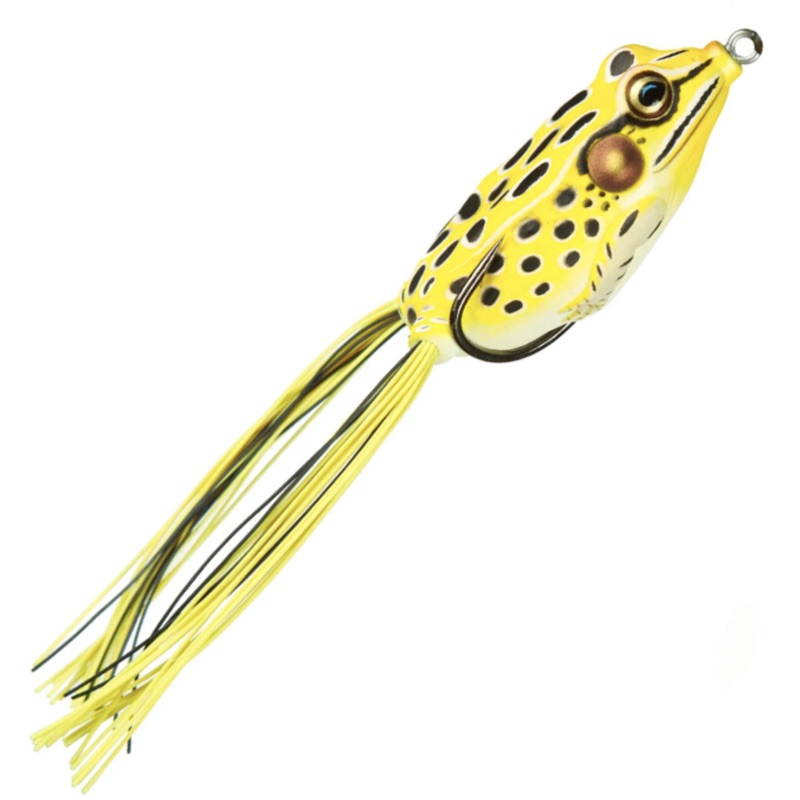
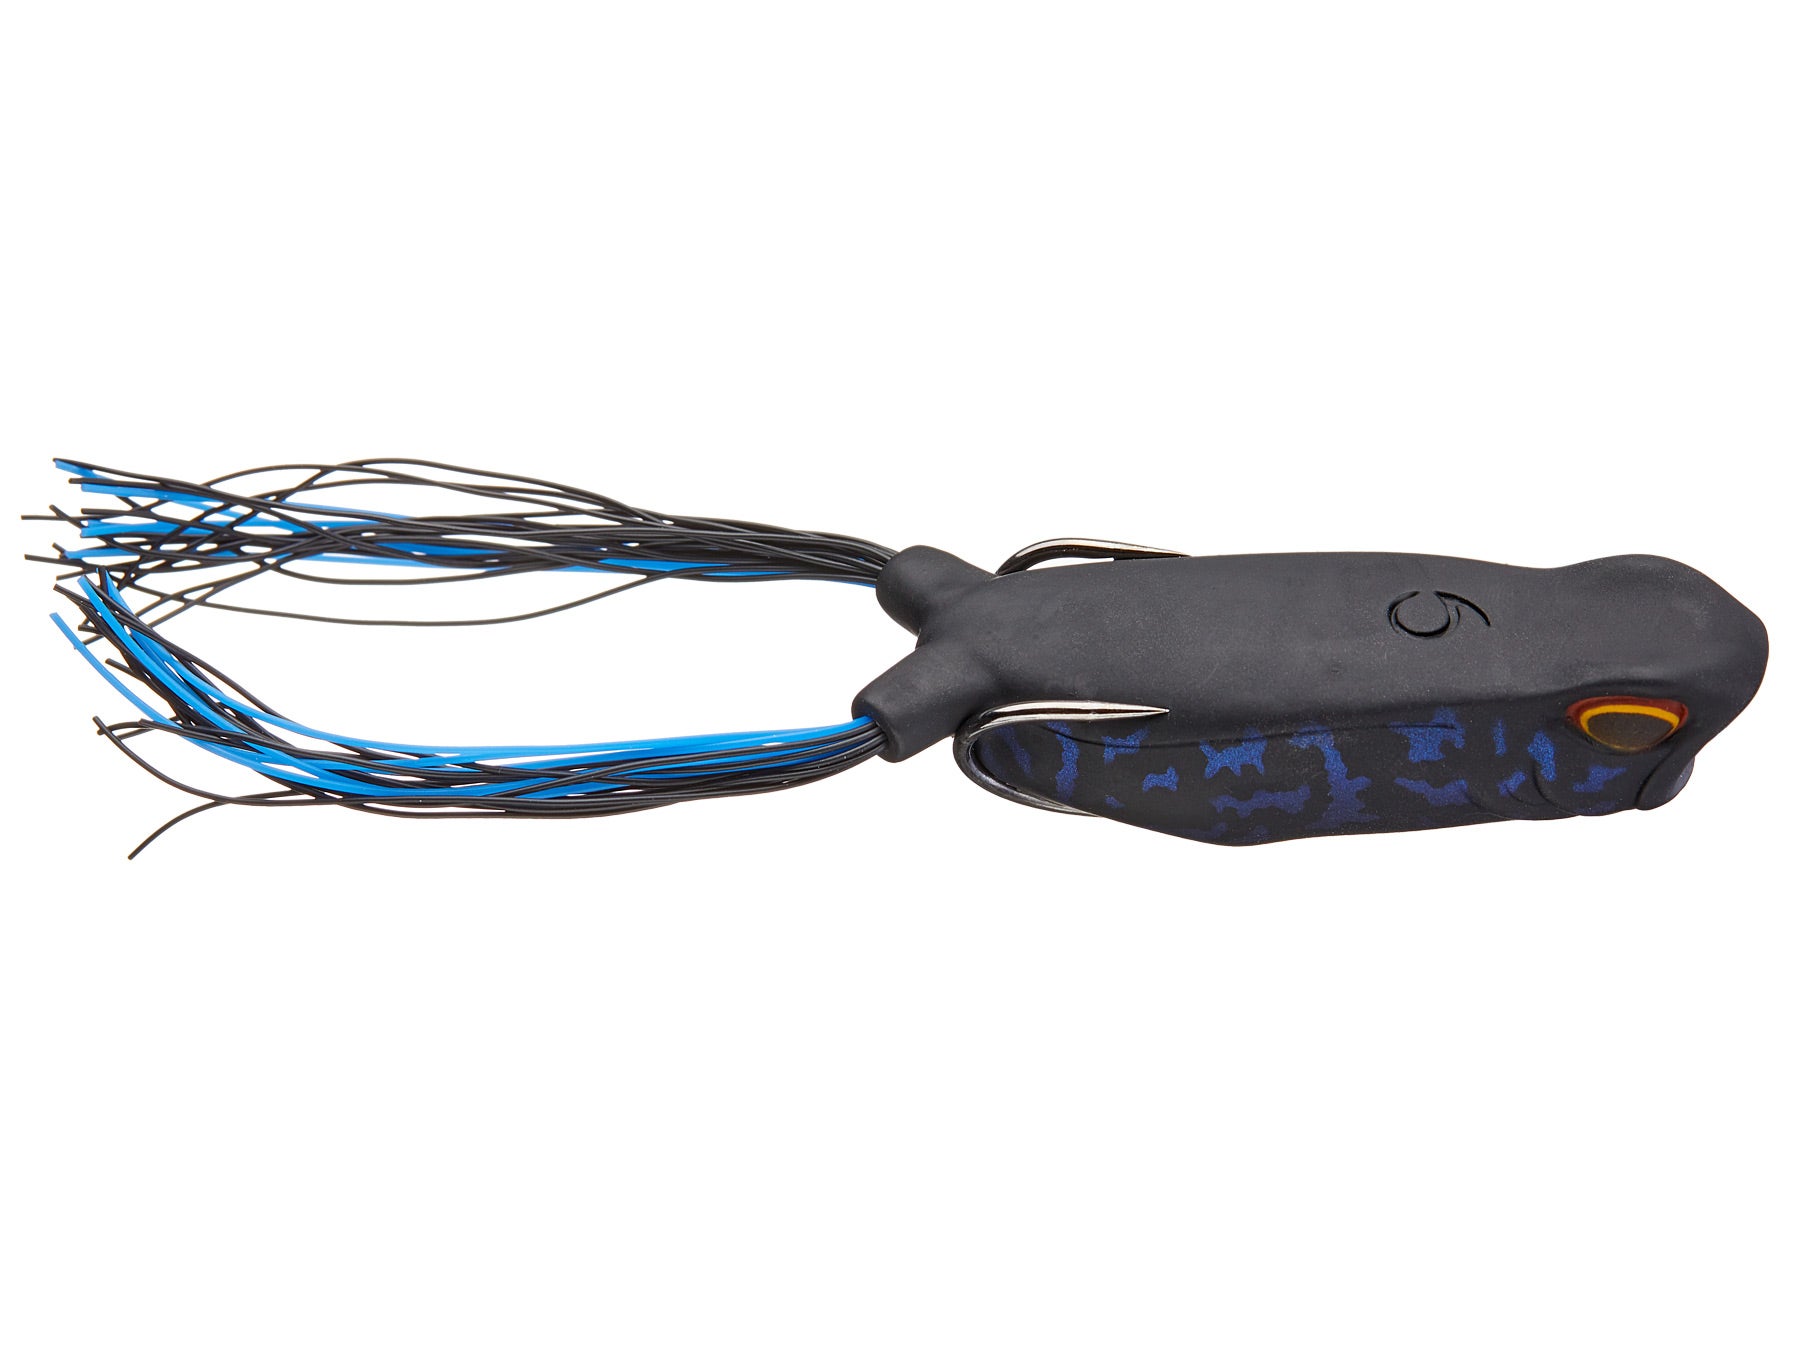
The second and my favourite type of frogs is the Hollow-Bodied frogs which are floating versions with a double-back hook running through the body of the frog and more recently the popping frog.
Again there are various different Brands of this type of frog and they also come in a number of different colours. My personal favourites are as follows:
Green = Clear and bright conditions
Red = Good all round color and my favorite
Black = Overcast and dirty or muddy conditions
 |
 |
 |
There is no special rigging required, just tie the frog directly to the line. I prefer to use the Palomar knot with 50lb braid and have never had any breakages unless it was due to my own wrong doing.
The popping frog is designed to cause more disturbance and allows the angler to get the bait to splash around and push water forward when jerked. This is an excellent bait when there is a chop on the water or when the fish are aggressive. It will often entice fish from a long way out and is also very useful when fishing in low light and muddy conditions. I also prefer using it when fishing in very thick cover as it creates enough disturbances to entice a big bass lurking beneath the thick stuff.
TIPS AND TACTICS
Now that the basics are out of the way, and you have hopefully got the required tackle and baits, the big question is what do you do with them? Unfortunately this is also the tricky bit, as there is no quick answer. Like any other facet of Bass angling, you have to experiment until you find what is suitable for your individual style of fishing.
So I will share my approach and what works for me. Again to simplify matters I will break it down into 3 steps and keep it as simple as possible.
Firstly, one must dispel any notions that frogs should only be fished in and around vegetation of some sort. They can be fished anywhere, whether it be open water, jetties, timber, rock piles, etc. Basically anywhere you would normally throw a top water lure; you can throw a frog with the added bonus of not getting snagged up, thanks to the weedless nature of the lure.
But for this purpose as our dams are generally overgrown with vegetation I will concentrate on how to target these areas. The first piece of advice I can offer you, and a common mistake I see most anglers making when they first approach an area, is to blindly cast out in any direction in front of them, as far as possible and simply retrieve the bait back to the boat or bank, paying no attention to the structure at all. This tactic does sometimes work, but the problem is that if there is fish in the area, you can end up spooking the majority of fish and end up with nothing to show for their efforts, which is usually followed by the saying, “There is no fish here or the fish are not biting today”
So the first skill you need to master is to be able to not rush in and just start casting blindly. Which is easier said than done, especially when there is grass or weeds everywhere. So the important thing to bear in mind is that Bass are ambush predators and will position themselves in this way. The second thing you need to learn is to break up the area you are fishing into smaller areas, even if it all looks the same at first, try to look for markers on the bank or on the structure itself, which will enable you to concentrate or target the structure more systematically. A technique I use quite often is what I like to call a “10 to 2” approach, which is simply to imagine a giant clock in front of you and the area you want to concentrate on is only the area between 10 and 2 on the clock face. Ignore everything else around you until you have finished fishing that area. The only time I do not do this, is if there is visible surface activity, where bass can be seen chasing baitfish on the surface. In that case I will cast out towards the area where the feeding is taking place.
Cool, so now that you have broken up the structure into a more manageable size, the next step is to start actually looking at the structure and start dissecting it by identifying any changes in that piece of structure, no matter how small. If you force yourself to adopt this thinking, you will start to notice certain things about the piece of structure or grass/ weeds etc you are targeting. And suddenly, things like grass lines, holes, isolated patches, reeds points, mixed vegetation, sheltered areas etc, to name a few, will start to appear. And the structure that looked all the same at first now looks like a mine field of specific targets at which to cast out at, and to demonstrate this, I have managed to find an excellent illustration from an article I saved some time ago by Alfred Williams.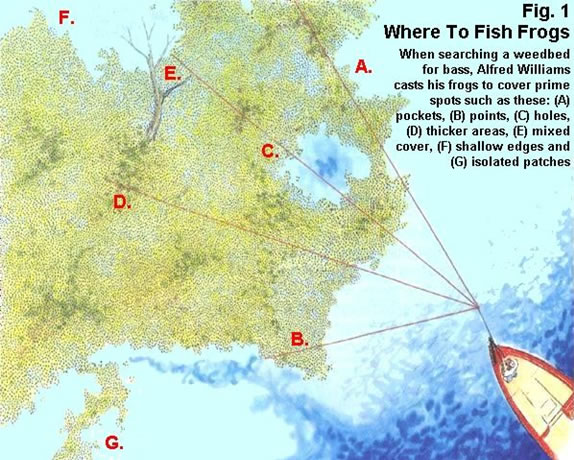
The next and most important step is to target the areas closest to the boat first, with multiple accurate casts and different retrieves before casting out at the further targets. In this way you will spook less fish and give yourself the maximum opportunity to target as many fish in the area as possible.
The best thing about fishing frogs is that you can fish them at any time of the day you wish. The general perception is that one must fish them during the low light hours, i.e. early morning or late afternoon. This is normally a more productive time to catch bass on a frog but most certainly not the only time to throw one. In fact, I have had some of my best fishing during the midday hours, and my 2011 win at the Bass Challenge competition at Klerkskraal Dam is a testament to that. Another time I prefer to throw a frog is on cloudy overcast day, and in my experience, on days like these you can catch them almost throughout the whole day, and is therefore my most favourite of conditions. However when the conditions are sunny then I prefer it if there is a bit of a breeze. The least productive for me has always been hot sunny cloudless days with no wind during the Summer months.
Ok, so now that we know where and when, the big question is how?
Whenever I intend to fish a frog, I always have two rods, unless I know what the fish prefer. The first rod consists of 50lb braided line and a hollow bodied type frog. The second rod, I fish with 20 to 25lb Fluorocarbon and a Horny Toad, soft plastic type frog. By having the two different set ups, I can easily cover the area with different techniques until I find out what the fish want.
I normally start with the hollow-bodied frog and start with a twitch, twitch, pause retrieve. If that does not do anything then I will employ the “walk the dog” action, which does take some practise and modification to the bait which I will discuss in the tips section. Lastly, I will cast it out and fish it as slowly as my patience will allow, slowly crawling it over the cover and allowing it to sit still, for up to a minute sometimes, and then give it a slight twitch and then repeat the process.
If that did not work, I will then switch over to the next rod with the horny toad and start off by buzzing it across the surface, but as soon as it reaches the end of a grass line or a gap or hole in the vegetation I will allow it to sink the bottom, and this is usually when I will get a strike if the bass are not committing to the surface, hence the reason I prefer to fish this type of frog on Fluoro rather than braid.
Lastly, another technique I use a lot, especially when fishing very shallow, is to cast the bait out, right over the area I wish to fish, onto the bank. You will not believe how many bass and sometimes big bass, position themselves right up against the bank, especially if there is an overhanging branch of some sort from a tree or bush. I will then slowly retrieve the bait until it plops into the water softly, so as not to spook the fish by casting it on top of their heads chasing any fish in the vicinity away. I have caught a number of bass in this manner, as the bass usually attack the bait as soon as it enters the water.
In this section I will briefly discuss some of the modifications I make to my baits, which allows me to get the best action out of the bait for specific situations. The key is not to be afraid to experiment.
One of the things I do when fishing a Horny toad, especially when I want it to sink into the holes is use a bullet sinker in front of the frog, the same as you would a Texas rigged creature bait. This allows me to get the bait down quickly and elicit reaction strikes from the bass, when fishing the holes or edges of the grass lines. The size of weight will depend on how thick the cover is or how deep the water is.
When it comes to the hollow-bodied frog, one of the modifications you can do to make the bait ‘walk’ better is to trim the silicone skirt shorter on one side or both. Something I like to do, especially when fishing in dirty or muddy water or very thick vegetation, is add glass rattles into the body cavity of the frog. I feel that the added vibration and noise it creates, helps the bass to track down the bait more accurately and lure bass from further away. Lastly, if I am fishing rough water on a very windy day, I like to fill the body cavity with Foam, the kind the sea fisherman use. I cut them into thin strips and fill as many as I can. This allows my bait to continue riding high on the surface and also aids in avoiding being flooded with water too often so I can make multiple casts before having to squeeze the water out.
This concludes my article on Frogging My Way. I hope it was informative and useful. May you have many exciting hours of explosive strikes and catch lots of monster Bass. This is for me is the most exciting way to catch Bass and definitely my favourite technique.


Leave a Reply Cancel Reply